
I have been wanting to make a quilted Christmas tree skirt for a while. With my growing collection of Christmas fabric, I made the decision to make one this year. I decided to use the Christmas Tree Skirt Quilt Pattern from Missouri Star Quilt Company for my first tree skirt. After looking through my fabric stash, I settled on the Return to Winter's Lane fat quarter bundle by Kate and Birdie from Moda Fabrics. The thing I love most about this fabric is that it feels Christmasy without being traditional.
I cut four 5" squares from each piece of fabric, winding up with about 96 squares. For my tree skirt, I ended up using 76 squares. I had originally laid out 80 squares, thinking I would cut each of the corner squares diagonally, but I wanted the tree skirt to look more like an octagon than a square, so I removed the four corner squares from my layout. I also did not place a square in the centre, as I didn't want to waste a square where the opening for the tree trunk would be.

With my tree skirt pieces laid out, I sewed the squares together into strips, winding up with 9 strips of squares. I then sewed the strips together, being careful to match up the seams, particularly around the centre opening.
Since I opted to remove each of the corner squares, I cut across two squares for each of the corners. This helped make my tree skirt look a little more octagon than square.

With the squares all sewn together, and my corners trimmed, I put the quilt top on my quilt wall to help visualize how I wanted to finish the skirt. I was just planning to bind the tree skirt without adding a border. After looking at the skirt top on the quilt wall, I decided to add a solid red border.

To keep the border simple without being too big and bold, I cut the red fabric into 1.5" strips. This provided a nice border around the printed fabric pieces, without standing out too much. I also used the same solid red cotton for my binding.

I kept the quilt simple by following the seams of the squares. This created a double line grid pattern on the back. Once the quilting was finished, I created the opening to allow the skirt to wrap around a Christmas tree. I cut a straight line evenly down four squares from the centre opening to the outer edge.
I was debating between cutting the centre into a circle or an octagon shape. In the end, I kept the square shape and cut the corners into a curve using and apple core template. I was a little concerned the centre of the tree skirt would look weird, but I like the way the shape of the centre works with the overall shape of the tree skirt.

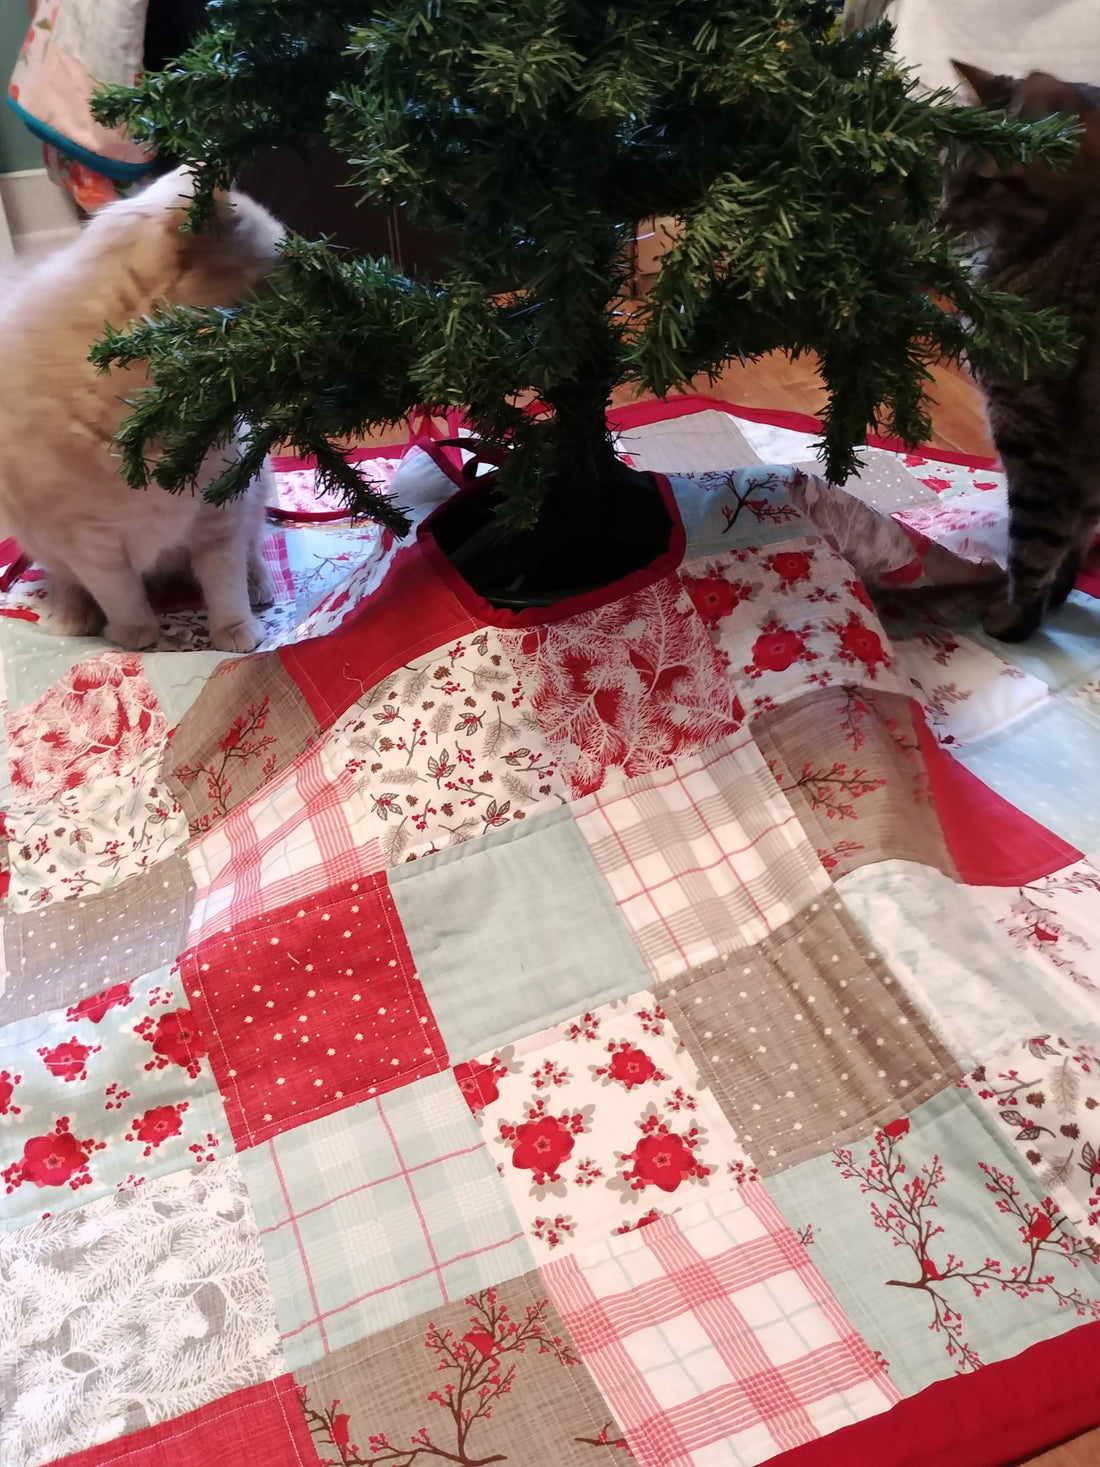
With the tree skirt quilted and my opening cut, I added my binding. I trimmed everything, the centre opening and the outer edge in the same red fabric as the border.

I now have a pretty, handmade quilted tree skirt to dress my Christmas tree come December. If I had a full-sized artificial Christmas tree, I would be tempted to start decorating, just to put out my tree skirt.
