More than a year ago, I bought a layer cake of Free Spirit's Feathered fabric bundle, and a Michael Miller layer cake in cream to go with it, with the intention that I would make a full-sized quilt for our spare bedroom. I knew I wanted to do something different than a charm pack type of quilt, though I still wanted the quilt to be easy to construct. Initially, I thought I might do a simple windmill quilt, but ended up doing a variation of the I did as my first quilt.

My first step, after unwrapping and ironing all of the fabric pieces, was to organize the Feathered fabric bundle by colour and print. My hope was to be able to construct the quilt so that fabric pieces that were either the same colour or the same print were not placed next to each other on the quilt. Sadly, that didn't work out, as despite my best efforts to organize the fabric through the process of making the quilt top, I still ended up with quilt blocks next to each other that either had the same print in different colours or different prints in the same colour being placed next to each other.

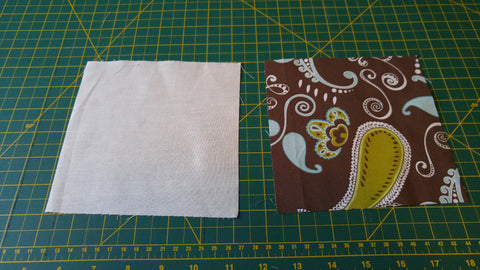
Once I had all of my fabric pieces pressed and organized, I paired each solid cream square with a printed square.

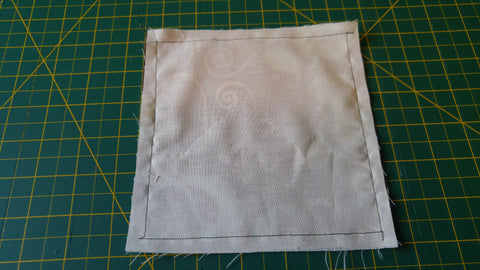
I then attached the two squares together by sewing around the perimeter. Once all of the solid squares had been sewn to a printed square, I cut each pair into quarters diagonally, taking my layer cake pieces from two big squares to four smaller squares that were half solid and half print.

Each of my smaller squares were then pressed open with the printed side facing inward. Unlike my first quilt, where I sewed the squares with the printed fabric facing in to give me a diamond look, this time I switched two of the squares which were diagonally across from each other, so that two of them had the print fabric facing in, and the other two had the solid fabric inward. All four squares were sewn together to create each of my quilt blocks.


Once I had created all of the quilt blocks, 42 in total, I arranged them into six rows, each row containing seven blocks. The rows were sewn together, and then I added a 2 inch border to increase the length and width, so that it would fit the double bed better. The fabric I used for the border, I also used for the back. For the binding, I used a darker solid grey, left over fabric from this <a href="http://hereastitch.ca/easy-peasy-charm-quilt/" target="_blank" rel="noopener noreferrer">charm pack quilt</a>, as I thought it would provide a nice contrast to finish the quilt.
The quilt turned out great. The pattern is pretty much a windmill pattern, with half of the windmill in one print and the other half in a different print. I wish I had more layer cake squares to make the quilt slightly bigger, as even with the added border, it didn't turn quite as big as I had initially wanted. I still love it, and when my mom came to stay with us she commented that I should make her a similar quilt for her bed.

